
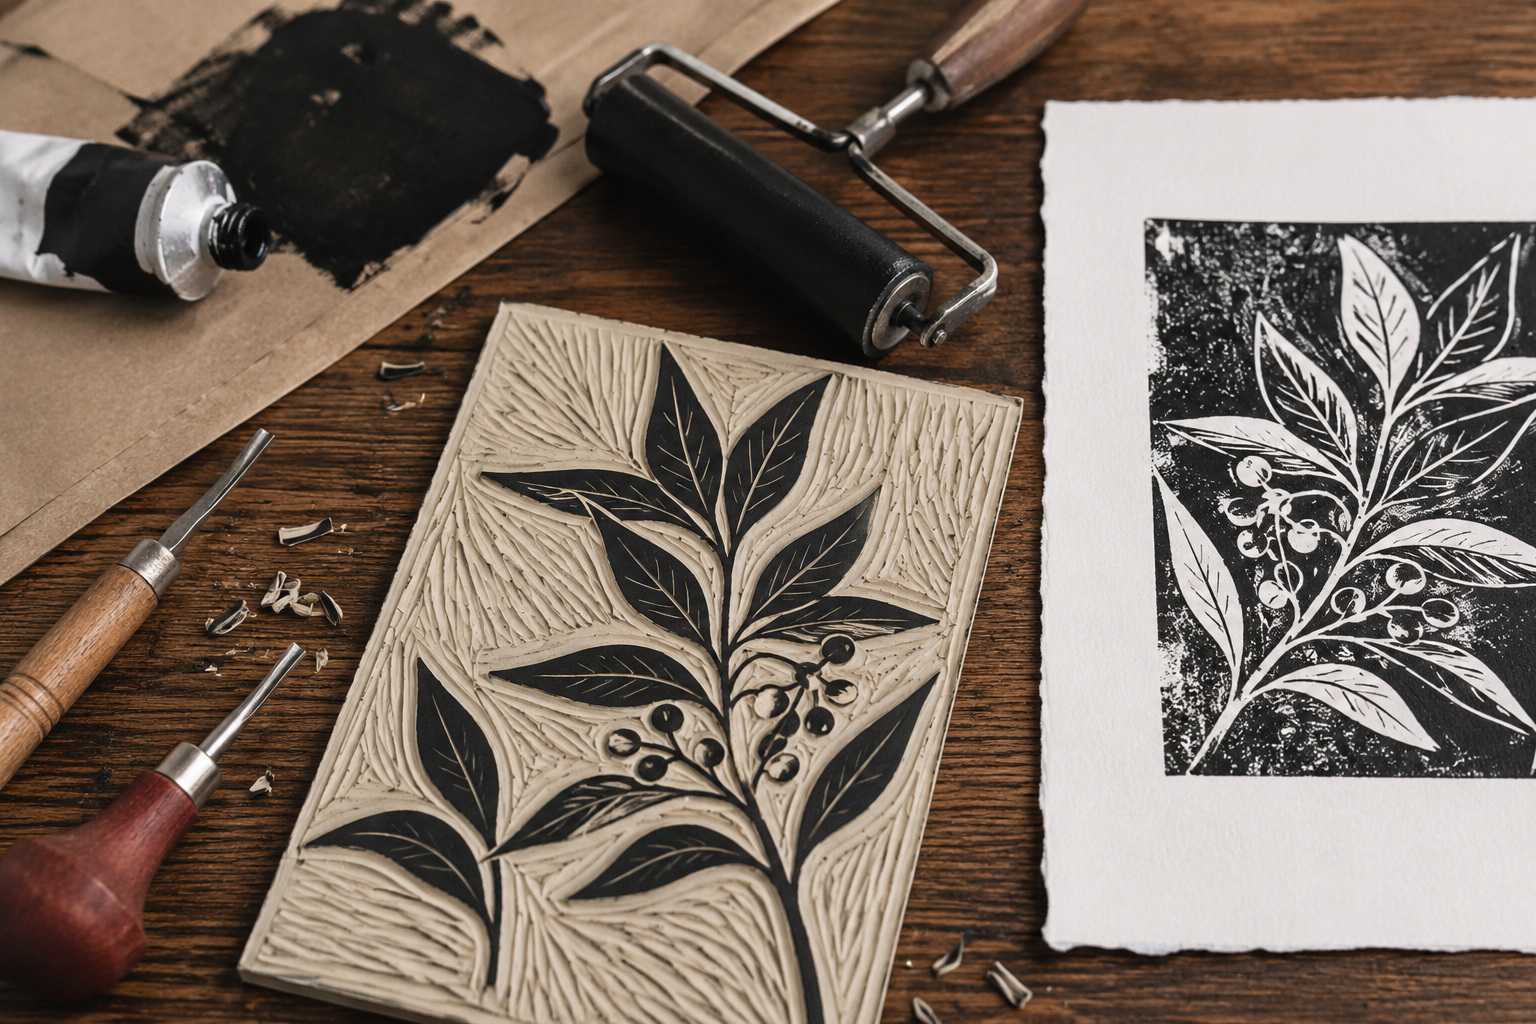
Lino printing is an enjoyable and surprisingly accessible art form that allows you to transform a simple idea into a striking handmade print. It combines drawing, carving, colour and printing, making it an ideal hobby for anyone who enjoys working with their hands and experimenting creatively.
One of the great attractions of lino printing is that you do not need to be an experienced artist to get started. Simple shapes and bold patterns can produce beautiful results, while more confident hobbyists can gradually explore detailed designs, multiple colours and advanced printing techniques.
What Is Lino Printing?
Lino printing, also known as linocut printing, is a form of relief printing. The artist carves a design into a flat sheet of linoleum using specialised cutting tools. Ink is then rolled across the surface of the lino.
The areas that have been carved away do not receive any ink and remain blank when printed. The raised, uncarved sections hold the ink and transfer the image onto paper or fabric.
Once the lino block has been carved, it can be used repeatedly to create several copies of the same image. However, because each print is inked and pressed individually, every finished piece will have its own subtle variations and handmade character.
It is important to remember that the printed image will be a mirror image of the design on the lino block. This is particularly important when including letters, numbers or words in your design.
A Brief History of Lino Printing
Linoleum was originally developed in Britain during the 19th century as an affordable and durable floor covering. Artists and art educators later discovered that its smooth surface was easier to carve than wood because it did not have a grain.
Lino began to be used for arts and crafts education towards the end of the 19th century. German artist Erich Heckel is credited with creating one of the earliest known linocuts in 1903. The technique was subsequently embraced by German Expressionist artists and became increasingly popular during the early decades of the 20th century.
British artist Claude Flight helped popularise colour linocuts during the 1920s and 1930s, while celebrated artists including Pablo Picasso and Henri Matisse also explored the medium. Today, lino printing is practised by professional artists, students and hobbyists throughout the world. Escher in The Palace
What Do You Need to Begin?
Lino printing does not require a large studio or expensive machinery. A hobbyist can begin with a relatively small collection of tools and materials:
- A lino block or soft-cut printing block
- A set of lino-cutting tools or gouges
- A pencil and permanent marker
- Tracing or carbon paper for transferring a design
- Block-printing ink
- An inking tray, sheet of glass or another smooth, flat surface
- A brayer or ink roller
- Suitable printing paper
- A baren, wooden spoon or clean roller for applying pressure
- A non-slip cutting mat or bench hook
- Paper towels and cleaning materials
Traditional lino can sometimes be quite firm. Beginners may prefer a softer carving block, which is easier to cut and particularly useful when learning how the different tools behave.
Lino-cutting tools are sharp and should always be handled carefully. Carve away from your hands and body, keep your supporting hand behind the blade and work on a stable, non-slip surface. Children should only attempt lino carving with close adult supervision and age-appropriate materials.
How to Create Your First Lino Print
1. Choose a simple design
Begin with a clear design featuring bold shapes and strong lines. Leaves, flowers, animals, geometric patterns and simple landscapes all work well. Avoid including too much fine detail in your first project.
Sketch your design on paper before transferring it to the lino. Remember to reverse any lettering so that it appears correctly in the finished print.
2. Transfer the image
Use tracing or carbon paper to transfer the design onto your lino block. Go over the important lines with a permanent marker so that they remain visible while you carve.
It can help to shade the sections you want to print. This will make it easier to see which areas should remain raised and which need to be removed.
3. Carve the lino
Begin by carefully outlining the main shapes with a narrow V-shaped cutting tool. Larger U-shaped gouges can then be used to remove broader areas.
Work slowly and remove small amounts of lino at a time. You can always carve away more, but you cannot replace a section once it has been removed.
The carved sections will remain the colour of your paper, while the uncarved sections will receive ink and form the printed image.
4. Roll out the ink
Place a small amount of block-printing ink onto your inking surface. Roll the brayer backwards and forwards until the ink forms a thin, even layer and produces a slightly tacky sound.
Roll the ink lightly and evenly across the raised surface of the lino. Too much ink can fill the carved lines, while too little may produce a patchy print.
5. Make a test print
Place a sheet of paper carefully over the inked block. Apply firm, even pressure using a baren, wooden spoon or clean roller. Hold the paper in place while rubbing so that the image does not smudge.
Lift the paper slowly from one corner to reveal your print. Your first impression is a test print and will help you identify areas that need additional carving or a different amount of ink.
6. Refine and print again
Clean the lino if necessary, make any final adjustments and create another print. Experiment with different ink colours and types of paper. Once you are comfortable with single-colour printing, you can explore using several blocks to introduce additional colours.
Creativity That Supports Mental Well-Being
Creative hobbies provide a valuable opportunity to slow down and concentrate on something enjoyable. Lino printing is especially absorbing because every stage—from developing the design to carving the block and revealing the first print—requires calm, focused attention.
“Arts and crafts give us permission to step away from the pressure and noise of everyday life,” says Nelmari Oosthuysen, owner of A Peace of Art. “When we become absorbed in a creative activity, our minds have an opportunity to settle. That can be enormously beneficial for our emotional and mental well-being.”
The repetitive movement of carving can be relaxing, while the process of printing provides an immediate and satisfying result. Mistakes can also become part of the design, encouraging hobbyists to let go of perfection and enjoy experimenting.
“A creative hobby is not about producing a perfect work of art,” Nelmari explains. “It is about enjoying the process, learning something new and experiencing the sense of achievement that comes from making something with your own hands.”
Discover the Joy of Making Your Own Prints
Lino printing can be as simple or as challenging as you choose to make it. You can use your prints to create framed artworks, greeting cards, gift tags, wrapping paper, fabric designs and personalised gifts.
A Peace of Art offers a welcoming environment in which people of different ages and experience levels can discover their creative abilities. Its team can also assist hobbyists with arts and crafts supplies, equipment and practical advice.
Contact A Peace of Art
Port Elizabeth
85 Main Road, Walmer, Port Elizabeth
Telephone: 072 304 0797
Bloemfontein
7 Avenham Street, Avenham, Bloemfontein
Telephone: 076 192 1637
National enquiries: 082 770 9994
Email: info@apeaceofart.co.za
Website: www.apeaceofart.co.za